Workforce & your team
What it's for
Workforce is where you manage your people — who they are, what they can do in DashDinner, their shifts, attendance, leave, and tasks. It all lives in one hub, organised into tabs.
Where to find it
- Web
- iOS
- Android
Choose Workforce in the left sidebar. It opens the hub with tabs across the top: Overview, Team, Attendance, Leave, Schedule, Tasks, and more.
Open Workforce from the app.
Open Workforce from the app.
This guide covers the Team tab — adding and managing staff. The other tabs have their own guides: Shifts, Attendance, Leave, and Tasks.
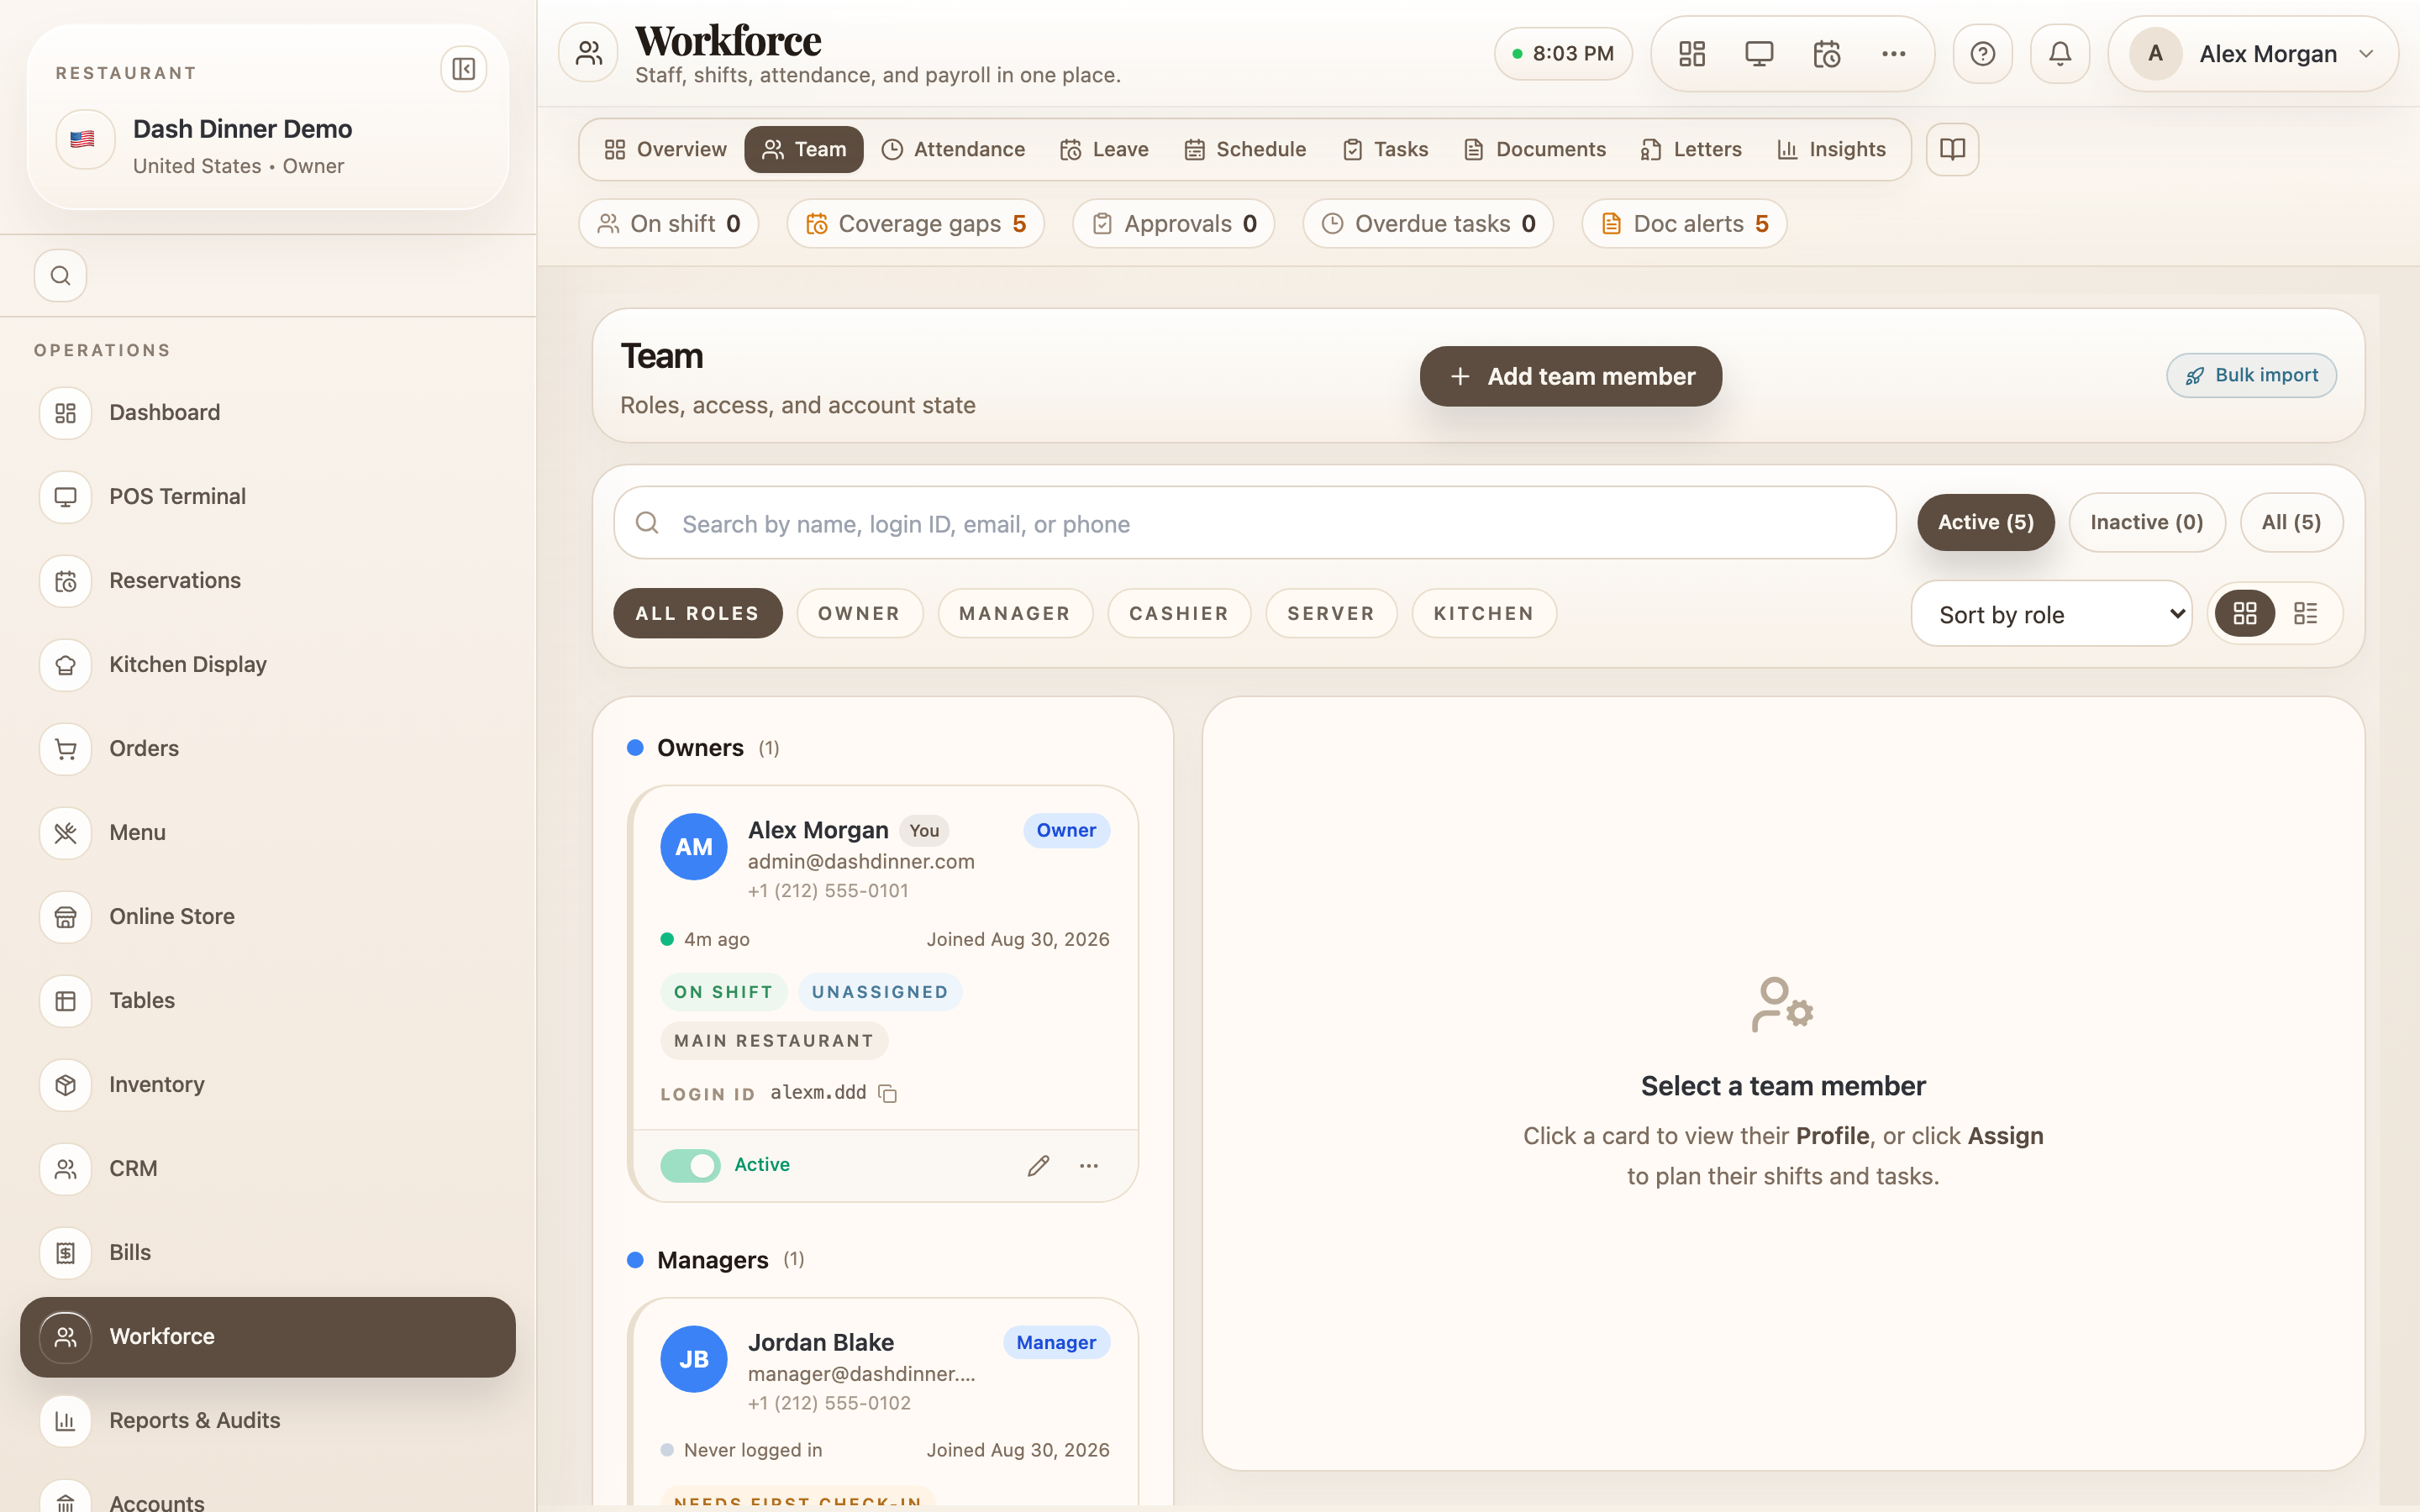
Add a team member
- On the Team tab, choose Add team member.
- Fill in the form, which is grouped into four sections:
① Identity & sign-in
- Full name.
- a Sign-in ID — a username the staff member signs in with (this is not an email address).
- Work email (optional) — only used for HR letters and payslips.
- Phone (optional).
- Quick PIN — a 4–6 digit PIN so they can sign in fast at a shared terminal (see Log in & set up).
② Role & system access
- Pick a role from the grid — Manager, Cashier, Server, Kitchen, Barista, Delivery, and more. The role sets what the person can do, shown as a read-only capability list.
- When editing, an Account state toggle switches between Active (full access) and Paused (keeps their history but blocks access).
③ Shift & segment — a default working segment (Morning, Afternoon, Evening, Night, or Custom).
④ Onboarding documents — optionally queue documents to collect (ID proof, contract, and so on).
- Save with Create team member (or Save changes when editing). If you queued documents, the button reads Create & queue documents.
Fine-grained permissions beyond the role live on a separate Roles & Permissions screen. This form sets the person's role, sign-in, and account state.
Pausing someone
To stop access without losing their records, edit the member and set the account state to Paused — they show as Inactive in the list, and their history stays intact.
Worked example
Onboard a new server. Choose Add team member, enter Priya Sharma, let a Sign-in ID generate, set a 4-digit Quick PIN, pick the Server role, set the segment to Evening, and choose Create team member. Priya can now sign in with her PIN and take orders.
Tips & things to watch
- ✅ Give a PIN to floor staff — it's the fast, personal way to sign in at a shared terminal.
- ✅ Match the role to the job — the role decides what each person can see and do.
- ⚠️ Pause, don't delete, when someone leaves — pausing keeps their attendance and order history for your records.